What do QA testers, web developers, and social media managers have in common? For one thing, they all consistently need to use proxies in order to optimize their workflows.
The problem that these – and many other web professionals – face is that there are not many intuitive options for setting up proxies for multiple tabs in a web browser. For Google Chrome, Mozilla Firefox, and Apple Safari users, the process is needlessly complex.
Enter Ghost Browser.
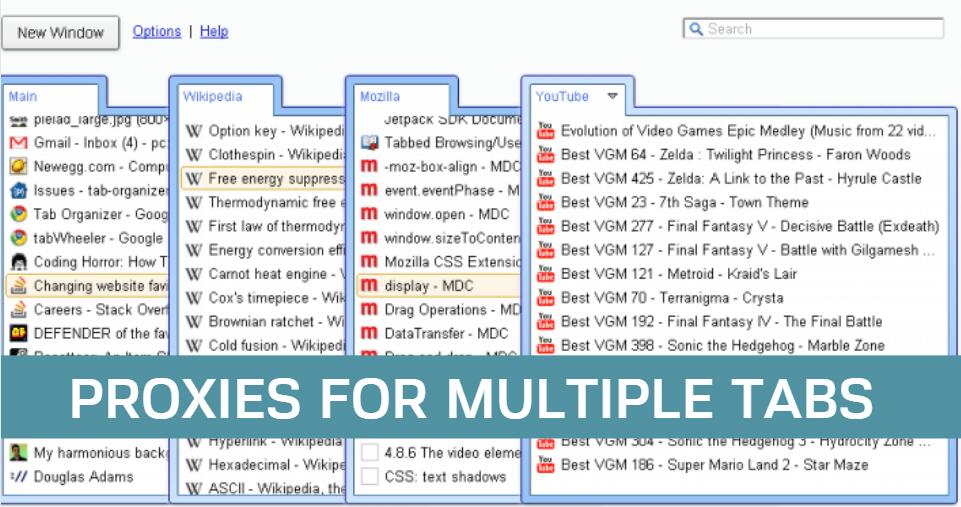
Ghost Browser allows users to create multi-session browser instances corresponding to individual tabs. Color-coded Ghost Groups let users sign into one service multiple times using different IP addresses, all through a single hardware device.

How Ghost Browser Allows Setting up Proxies for Multiple Tabs
The key value that Ghost Browser offers is the ability for users to easily set up proxies for multiple tabs. You can use this feature to manage multiple social media accounts from a single browser window, or to manage accounts for clients in other countries without having to constantly authenticate your sessions.
But first, let’s look at what Ghost Browser’s platform really is:
- An Identity Manager. Ghost Browser lets you isolate and manage different online identities at the IP level.
- A Proxy Manager. Using this tool, you can assign different proxies to individual tabs or Proxy Network Status Online – Uptime Status 99.6% (/proxy-network-status) group of tabs in a flexible, intuitive way.
- Chrome Extension-Compatible. Built on Chromium, Ghost Browser offers full compatibility with your existing set of Chrome extensions.
- A Productivity Tool. Ghost Browser lets you save tabs into groups and call up specific groups so that you don’t suffer from a bloated interface full of unneeded browser tabs.
Ghost Browser works on Windows and OS X, with Linux support on the way. It does not track browsing history or transmit sensitive data to Ghost Browser’s servers. The only time the developers will ask for browsing information is if you report a bug – which you can opt-out of if you choose.
Preparing Ghost Browser for Multiple Proxy Instances
On its own, Ghost Browser offers a best-in-class identity management toolset for privacy-minded users and developers who need to test their products and solutions. However, to fully enjoy the power and flexibility of the platform, you have to combine it with a special tool called Ghost Proxy Control .
The same developers behind Ghost Browser made Ghost Proxy Control, so you don’t have to worry about compatibility issues, different user agreements, or unsafe data practices. It adheres to the same high standards of privacy that Ghost Browser does.
Ghost Proxy Control is a toolset that does exactly what its name suggests – gives you an interface for controlling proxies in Ghost Browser. This will the tool we use to set up proxies for multiple tabs in a simple, user-friendly way.
What Ghost Proxy Control Can Do
Ghost Proxy Control creates an extension icon on Ghost Browser that gives users complete control over their proxies. You can use it to override connection settings for each tab, and have it assign your proxies to new tabs as you open them.
You can use Ghost Proxy Control as a rotating IP changer, random IP assigner, and global IP interface that allows you to efficiently manage proxies in Ghost Browser. You can also set this extension to automatically test proxies before you use them so that you can disable bad proxies before exposing them to your target sites.
Here’s a list of the capabilities Ghost Proxy Control includes:
- Automatically rotating proxies every time you open up a new session or Ghost Browser tab.
- Overriding global connection settings for specific tabs, sessions, or Tasks.
- Importing proxies en masse.
- Assigning random proxies from your list to new sessions with a single click.
- Saving proxy assignments in Task-specific order so that future sessions open them up automatically.
- Clearing proxies from open tabs and returning to direct connection with one click.
- Assigning specific proxies to specific Tasks.
To understand how powerful this feature set is, we have to cover what Ghost Browser’s developers mean by “Tasks”.
Tabs refer to the individual pages opened up in your Ghost Browser window. Sessions refer to each color-coded browser instance. Tasks are unique to Ghost Browser. Setting up an individual Task in Ghost Browser lets you save the authentication state of a particular set of websites and manage that identity through the browser’s Ghost Menu.
For instance, a social media manager may assign a Task to each client so that he or she can quickly move between individual client accounts on their respective social media accounts.
The owner of an international website may use Tasks to represent the various countries the website is present in.
Importantly, Ghost Proxy Control gives you the ability to assign Task-specific proxies with nearly unlimited flexibility.
Using Ghost Proxy Control to Set Up Multiple Proxies on Ghost Browser
It’s important to understand that both Ghost Browser and Ghost Proxy Control are interfaces for using proxies. Neither one gives you access to proxies on their own – you have to get your own proxies and import them into the Ghost Browser session using Ghost Proxy Control.
The process of importing and setting up proxies for multiple tabs on Ghost Browser is simple:
- First, click on the Ghost Proxy Control extension icon on Ghost Browser. It should be located just to the right of the search bar.
- A small pop-up window will show you what proxy the current tab is connected through. If it will say, “The active tab is currently connected through (empty)”
- Click on the button labeled Add/Edit Proxies.
- A window will open up. Click on Add a Proxy or Bulk Upload Proxies to begin importing proxies for use with Ghost Browser.
- Name your proxies so that you can effectively keep track of them.
- Click once more on the Ghost Proxy Control extension icon and select the proxy you wish to override for the active tab, session, or project.
- Once you assign the proxy, it will remain attached to that specific tab, session, or project until you clear it.
- If you want to rotate between multiple proxies for each session, click on the checkbox just above the connection override menu so that every time you open a new session, Ghost Browser automatically assigns the next proxy in your list to that session.
And that’s it! You are now ready to start using proxies for multiple tabs in Ghost Browser.