Do you want to avoid the hassle of frequently configuring proxies from system settings? Come in now let me show you how to set up a proxy on SwitchyOmega on both Chrome and Firefox.
Setting proxies for your browser is easy – only when you do it ones in a while. But when it because a frequent task and you need to use specific proxies for specific domains, then setting things up will not only become task consuming, but it will also become boring. However, with proxy switchers, this can actually become easy as you set up proxies once and switch with just a click from the browser environment without digging through your system proxy settings.
What is SwitchyOmega?
SwitchyOmega is a browser extension developed for switching between proxies in a browser environment. SwitchyOmega was introduced to put an end to constantly going through the proxy of editing proxy settings. With this extension installed on your browser, you only need to add your proxies once and you can always switch any time you want from the Browser User Interface. Also, important I stress here that SwitchyOmega proxy settings remain in the browser environment and do not affect your system proxy settings in any way.
SwitchyOmega has support for both Chrome and Firefox. It is a powerful tool that makes managing proxies and switching based on specific rules easy. It is important I stress here that SwitchyOmega is actually a replacement for other proxy management tool. These tools include Foxyproxy, SwitchySharp, SwitchyPlus, and Proxy Switchy. These set of extensions are no longer been maintained and as such, if you are using any of them, it is advisable you move over to SwitchyOmega. Installing SwitchyOmega will automatically migrate all your proxy profiles and settings from these extensions to SwitchyOmega.
You can bind specific proxies to specific sites. You can also decide to use your system proxy settings, and can even choose specific proxies to use all from the SwitchyOmega small menu. SwitchyOmega is one of the best proxy management tools in the market for switching proxies.
How to Use SwitchyOmega
SwitchyOmega was developed to make the process of managing and switching between proxies easier and as such, it has to be easy for it to appeal to users. Interestingly, it is actually easy. Let take a look at how to set it up on the different browsers its support.
SwitchyOmega for Chrome
If you look at the number of users of SwitchyOmega across platforms it supports, you will know that most of their users are using Chrome. Currently, over one million Chrome users have downloaded this extension. This is not surprising though, as Chrome remains the popular browser in the market right now.
Follow the steps below to learn how to configure proxies on SwitchyOmega for Chrome.
- To download SwitchyOmega for Chrome, go to the Chrome web store and search for it. You can click here for a direct link to the page.
- After downloading, installation is automatic and the icon for SwitchyOmega which is just a thick blue O will be added to the list of plug-ins. Look out for it close to the address bar and click it, the below will pop up.
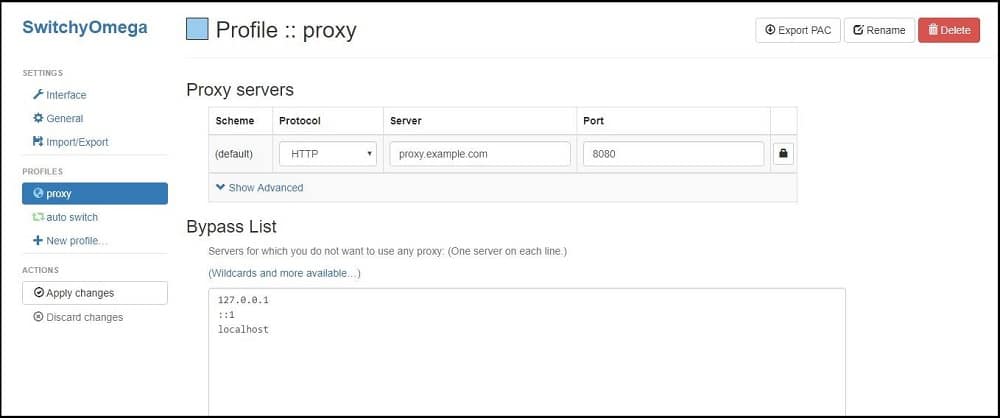
- Click on “Options” to get the below page to open. It is from that page that you will configure the proxies.
- As you can see from the above, a profile named proxy is opened. You can enter your proxy details. If you wish to enter your username and password details from this interface, click on the padlock icon close to the port and an interface will come up for you to add the authentication details.
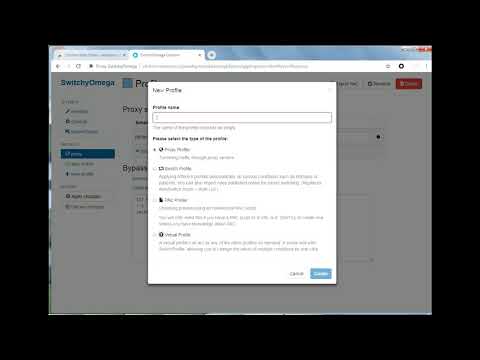
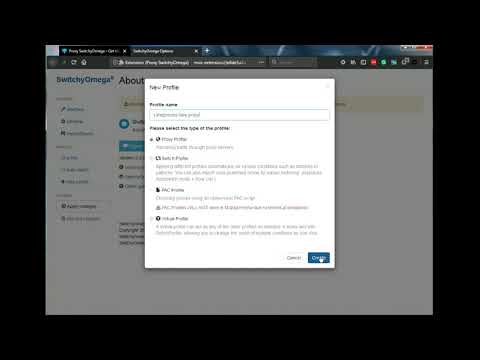
- To add a new profile, click on the New profile icon and the pop up below will come up.
![]()
- Give the profile a name and make sure you choose proxy profile then click on the create button. The same interface just like the one for profile:proxy will come up. Enter the required details.
- If you wish to switch proxies based on domain, click on “Auto Switch” and the below interface will open.
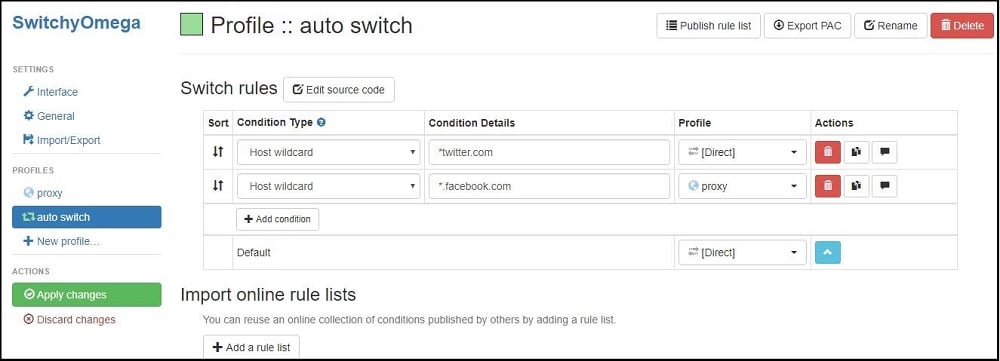
- Looking at the interface, you can tell that it is self-explanatory. Choose the condition type, enter domain wildcard, choose the proxy profile and then click on “Apply Changes.”
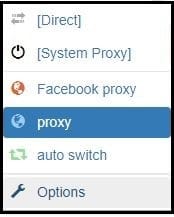
- To use any of the profiles, just click on the SwitchyOmega icon close to the address bar, its location might differ depending on the number of extensions you have installed. You will see all the added proxy profiles. Click on the one you want and you are good to go.
SwitchyOmega for Firefox
There’s also a sizable number of users of SwitchyOmega in the Firefox community. Configuring SwitchyOmega on Firefox is the same as on Chrome. So follow the steps highlighted above. To download and install SwitchyOmega for Firefox, click here.
Conclusion
SwitchyOmega is arguably one of the most popular proxy switcher and manager for Chrome and Firefox. Setting it up might be confusing but it does not have to be. With the step by step guide above, learning how to use SwitchyOmega becomes easy.