Postman is the go-to API testing tool for many and it does have support for using proxies. To learn how to configure Postman to route requests via proxies, come in now and read our article below.
One of the most popular developer-focused platforms for creating, building, and testing APIs continues to be Postman. It is an HTTP client that makes website testing easy to accomplish. In other words, Postman offers a practical interface for generating HTTP requests and communicating with APIs. The Postman's environment enhances separated teams' co-development activities to help with scalability and use faster APIs.
However, it is important to secure your work in Postman, and this is where proxies come in. A proxy is a server that stands between a client application like Postman and the server with which it is communicating—in this case, an API. With a proxy, your IP address is going to be concealed. This can help you guard against hacking and data leaks from your device and all of its data.
As such, you can configure Postman to use either the system proxy or a custom proxy when sending requests. So, in this tutorial, I’ll be showing you how to use your system proxy settings as well as customize a proxy for Postman. Let's get right in.
Configuring Postman’s Proxy Settings
Configuring Postman’s proxy settings involves two approaches. First, set up Postman to use your system proxy settings by default, or set up a custom proxy setting for Postman. In this article, I will be walking you through both methods. However, make sure you have an account, or you are signed in with Postman, and the desktop application is installed on your machine. If you haven't done any of these yet, don’t worry; I’ll walk you through them quickly.
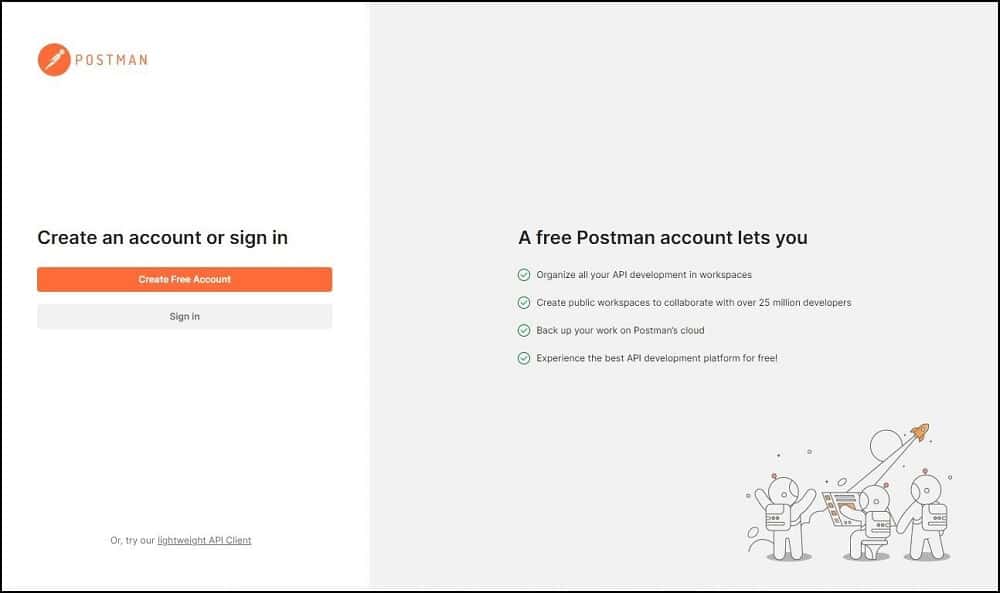
Step 1: Visit the Postman official webpage to sign up or download the desktop application, through which you can also sign up or sign in.
Step 2: Let’s assume you downloaded the desktop app. As soon as you attempt to install it, you will see a window that gives you the option to sign up and sign in.
Step 3: If your sign-in or sign-up process goes right, you should see your dashboard window look like the picture below:
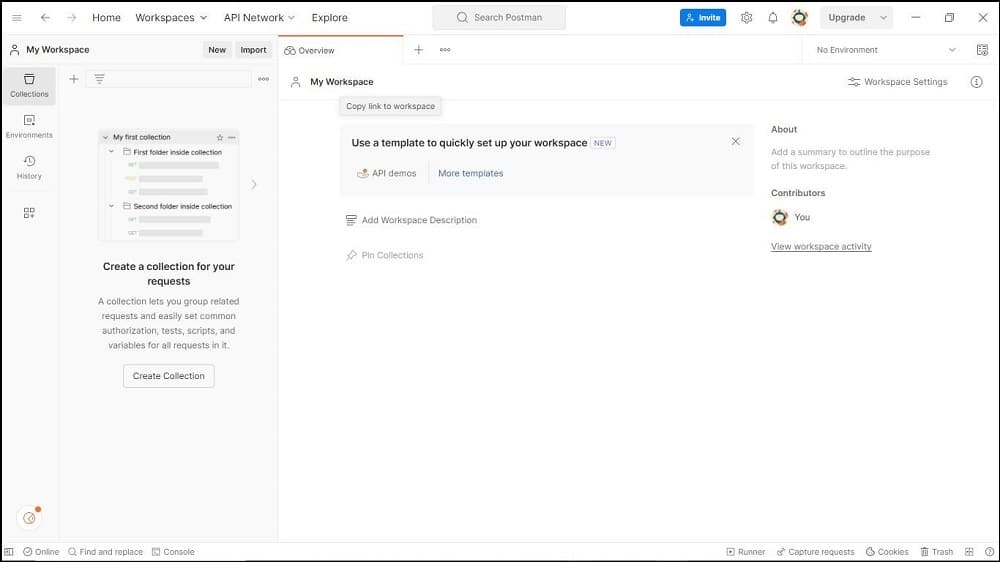
Now we are ready to configure Postman with a proxy.
Using the System Proxy Settings.
Assuming you have set up a proxy for your local system, the Postman desktop program uses this proxy by default to send API calls. This suggests that you are instructing the Postman application and all requests submitted using Postman to adhere to the default settings of your operating system. However, you would need to enter the credentials into the Postman desktop application if the proxy server set up for your PC needs basic authentication. As such, you can enable a system proxy in Postman’s settings by following the steps below:
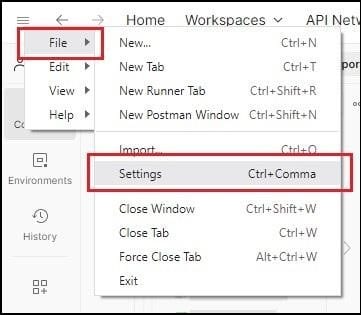
Step 1: First, click the hamburger icon in the top-left corner of the Postman app.
![]()
Step 2: Next, click “Settings” by hovering over “File”. The settings window can also be opened by pressing “Ctrl + Comma.”
Step 3: Select the “Proxy” tab. Under “Proxy configurations for sending requests”, turn on the toggle next to “Use system proxy.”
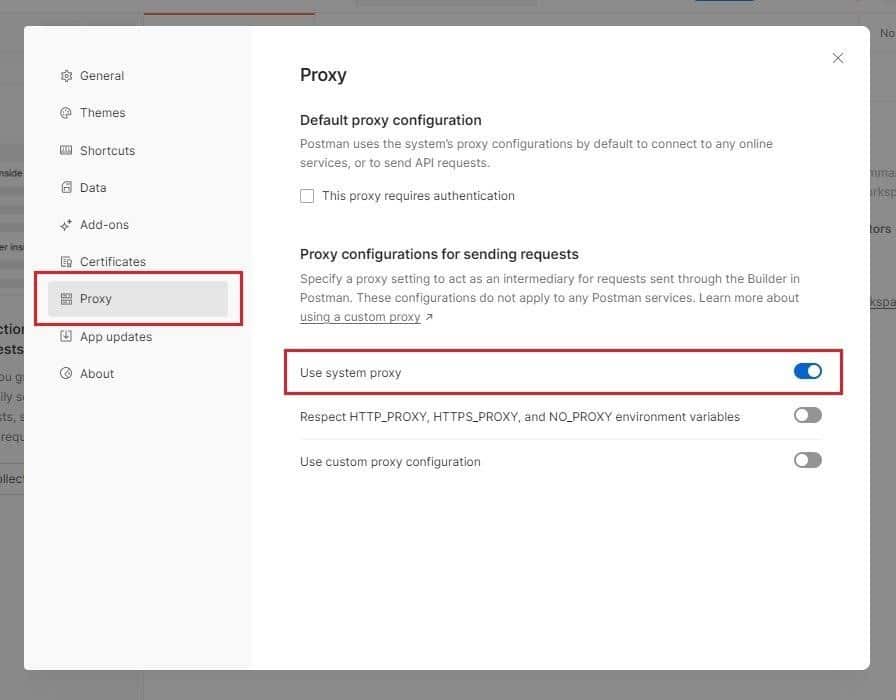
You can also turn on the toggle if you want Postman to use the “HTTP_PROXY, HTTPS_PROXY and NO_PROXY environment variables”. Although this is optional, just make sure the “Use custom proxy configuration” toggle isn't turned on. If they are both enabled, Postman will use the custom proxy.
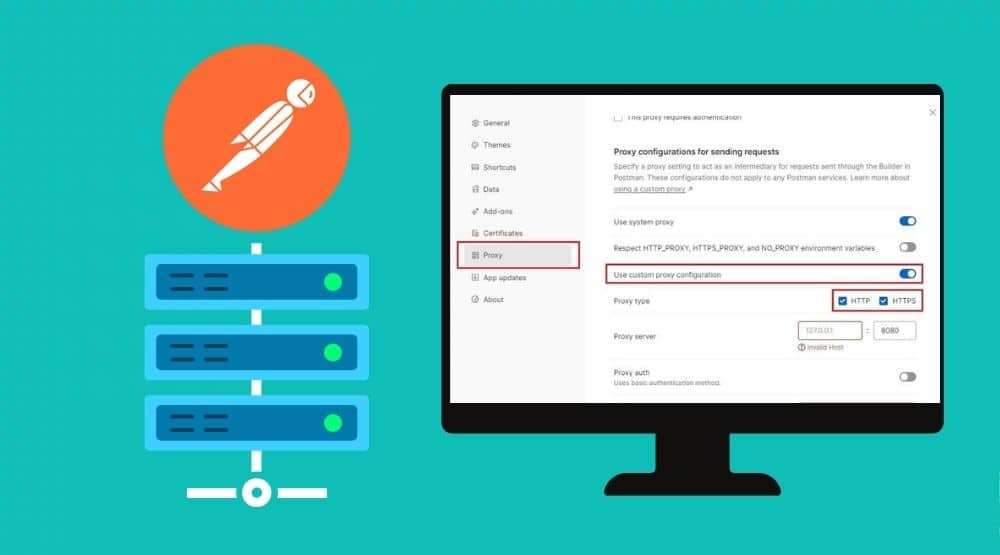
Setting Up a Custom Proxy in Postman.
Next, we will be looking at how to configure Postman with a custom proxy. The process is quite simple and straight-forward. Let me show you.
Step 1: Open Postman and click the hamburger icon on the top left corner of the Postman app, like we did earlier.
Step 2: Hover on “File” and select “Settings.” After that, click on the “Proxy” tab on the side menu bar.
Step 3: This time, turn on the toggle next to “Use custom proxy configuration.” Make sure to also select the type of your proxy server: HTTP or HTTPS.
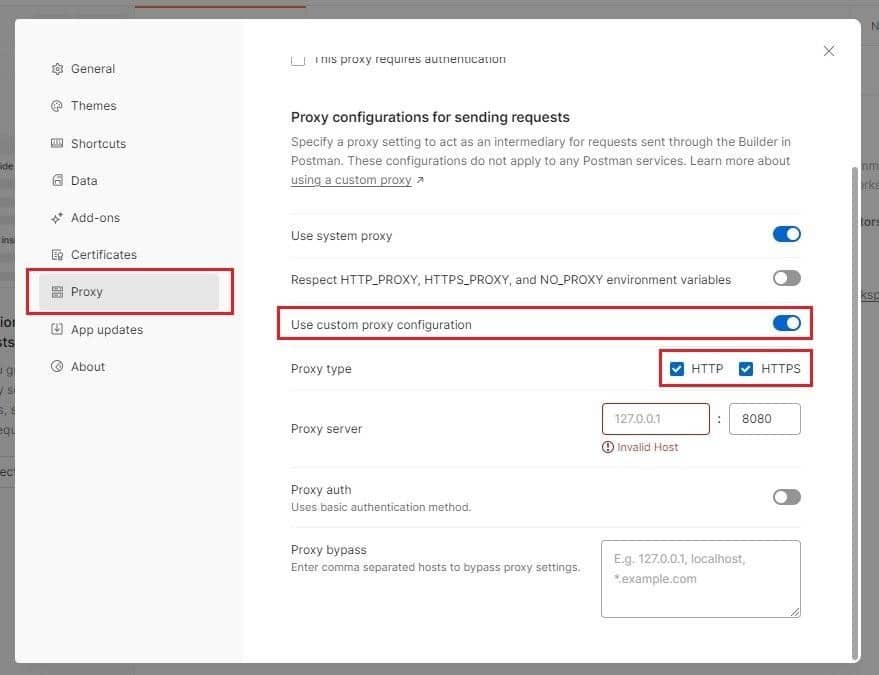
Step 4: Next, you need to enter your IP address and post.

Step 5: Let's say the proxy you want to configure with Postman requires login credentials. Make sure to turn on the toggle next to “Proxy Auth.”

Next, enter the username and password of your proxy in their respective fields.
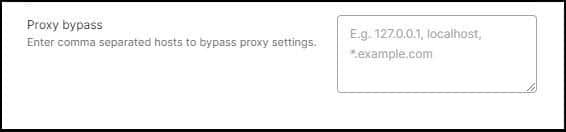
Step 6: If need be, enter a list of sites on which the proxy server will not work. Do this in the “Proxy bypass” box.
The settings window can be closed by using the “X icon.” That's it; the proxy configuration for Postman is complete.
Some Common Postman Proxy Configuration Problems.
Here are some typical problems with proxy servers that you could run into when using Postman. Nevertheless, I have also mentioned their solutions.
1. 407 Proxy Authentication Error.
Ensuring your login and password are provided in the user or system proxy settings can help you resolve the issue. Additionally, confirm that your operating system's proxy configuration is correct.
2. Missing Proxy Settings.
Make sure you have Postman's most recent version installed if you want to fix this. Additionally, verify each proxy setting to help solve the issue.
3. Missing postman-proxy-ca.crt.
Installing OpenSSL on your computer will help you with the proxy configuration issue. To fix this problem, you can also try restarting Postman.
FAQs
Q. What is the Best Proxy Protocol to Choose for Postman?
Postman now supports HTTP and HTTPS proxies. HTTPS is thought to be more secure, given that it encrypts traffic and secures all data in transit. If you want to use SOCKS proxies, then you will need to install it via the npm package http-proxy-to-socks. I do advise you to go for private proxy servers that give access to only you. Whatever you do, please avoid free proxies. This is because they are not reliable.
Q. What is the “407 Proxy Authentications Required” in Postman?
The server encounters the “407 Proxy Authentication Required” error when a request cannot be completed. This occurs because the login credentials are missing when a proxy server is used to connect the client and server. There are two reasons you will experience this error. Either because you didn’t provide a username and password or you entered the wrong username and password for the proxy authentication. If you opted for the IP authentication, you are shielded from seeing this error. However, not all providers support IP authentication, and could even behave in an unpredictable way sometimes.
Q. Does Postman Support Socks Proxy?
Postman does not support SOCKS proxies. However, if you want to use a socks proxy in Postman, you can do it by using the npm package http-proxy-to-socks. This is an add-on and a way to extend the default functionality of Postman. There are other options out there but this http-proxy-to-socks is the option we recommend as I have made use of it and worked for me. you should give it a try too.
Conclusion
There you have it. Now, you can use Postman to connect to any online service and send HTTP (S) requests by either applying the proxy settings from your system or configuring a custom proxy. I am certain that this article will point you in the right direction as you embark on your co-development journey.